Photography For Beginners:
The Definitive Guide (2021)
In this Definitive guide I’ll cover:
- Fundamentals of Photography
- Tips to Get the Perfect Lighting for Photography
- 6 Basic Photography Composition Techniques
- 5 Pro Tips for Getting Proper Exposure for Night Photography
- Quick Tips for Awesome Closeup Photography
- Lots more…….
So if you want to know about the best photography and camera equipment knowledge, you’ll love this updated guide.
Let’s get started.
Contents
Chapter 1
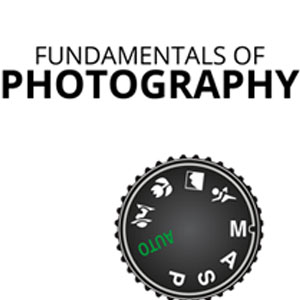
Fundamentals of Photography
Chapter 2
Tips to Understand the Lighting for Photography
Chapter 3
6 Basic Photography Composition Techniques
Chapter 4
5 Pro Tips for Getting Proper Exposure for Night Photography
Chapter 5
Quick Tips for Awesome Closeup Photography
Chapter 6
Basic Photography Equipment Checklist For Beginners
Chapter 7
Helpful checklist before photographing
Chapter 1
Fundamentals of Photography
Let’s start things off with a chapter on the basics.
Particularly, in this chapter I’m going to cover what is photography and How Do Cameras Work? and Three Fundamental Camera Settings You Should Know more.
As you can see, Camera settings are VERY important in Photography.
Let’s dive in.
What Is Photography?
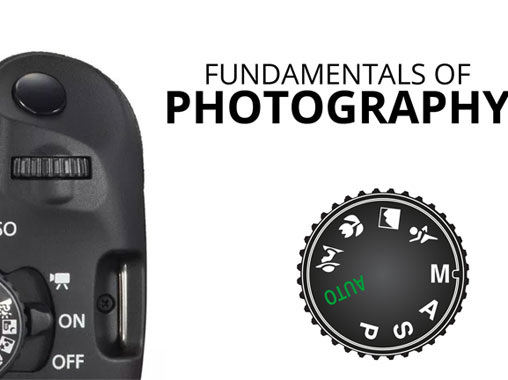
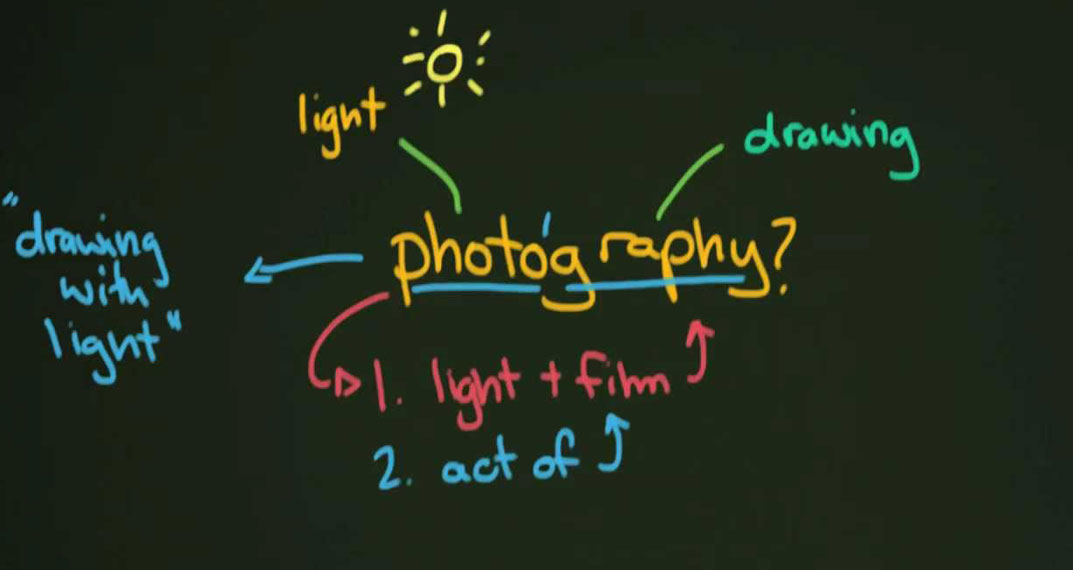
The art of capturing an object with a camera using Light-sensitive material is called as Photography, And it can be recorded via film or a digital sensor to create an image. Light-sensitive material is also named as photographic film.
With the best camera equipment, you may also photograph wavelengths of light invisible to the human eye, infrared, including UV, and radio.
How Does A Camera Work?
As beginner photographers, We have an ability to understand visual learning skills. And it’s my responsibility to make Photography as easy as possible for you.
So I thought to myself, “What are the better ways to explain beginner photographers to learn how to use their cameras?
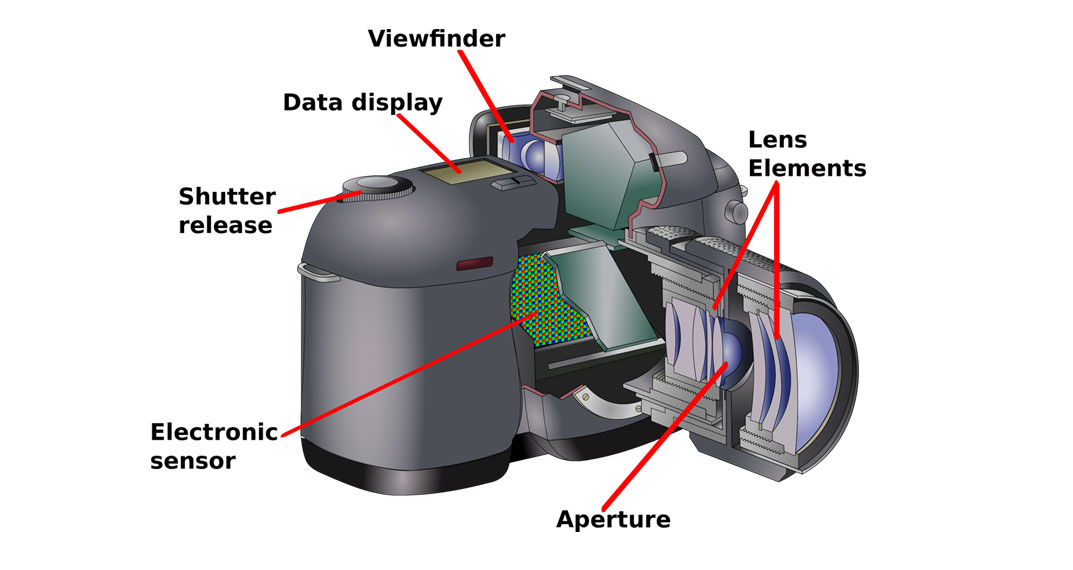
Finally here are some possible requirements for you, Understand these requirements like Aperture, Shutter speed, ISO.
Know about Getting the Right Exposure
We discussed about Photography and how a camera works. Now I am going to tell you How to Get the right exposure?.
Every digital camera sensor can be located behind the lens. The sensor is the important part that actually captures the photograph, Just like the roll of film in a film camera (Except film camera you will never take the sensor out of the camera).
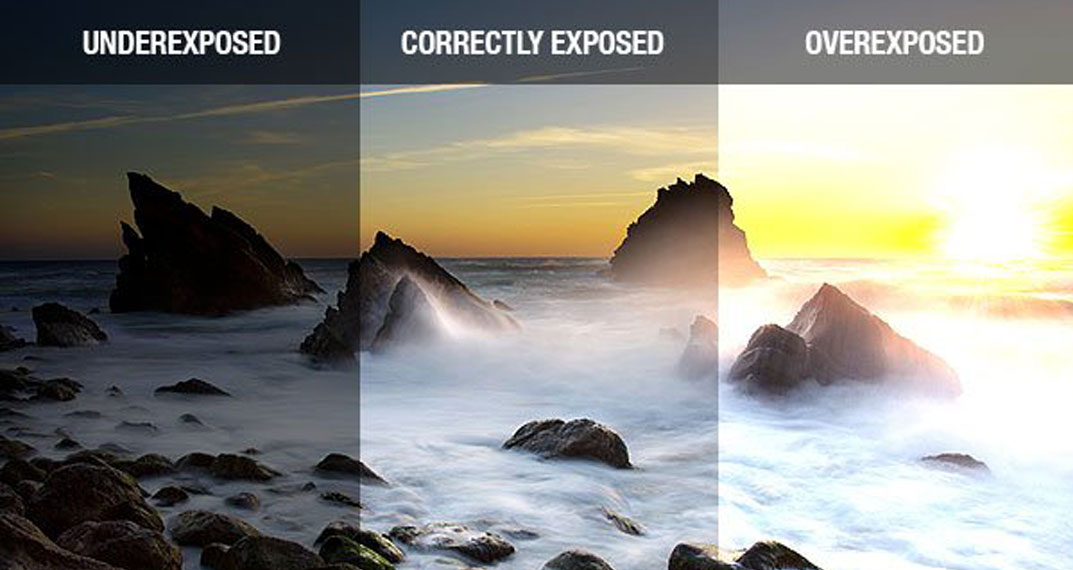
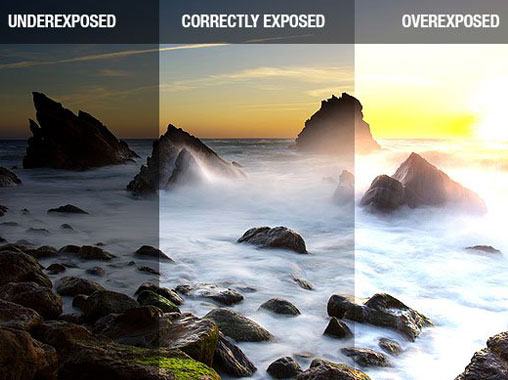
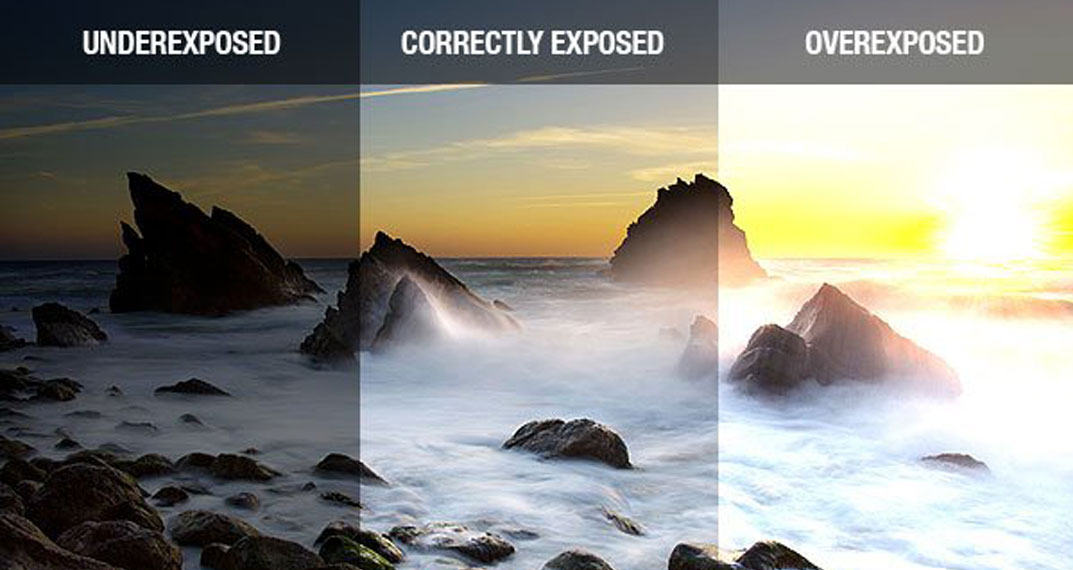
When you take a photograph, The sensor is exposed to light for a fraction of seconds, Or sometimes longer. The total time of light that is captured is called the EXPOSURE.
If the exposure is not just right, Your photograph comes out TOO DARK or TOO BRIGHT.
Normally, Your camera will set up the exposure automatically, And the same time you will have an option to adjust manually to get the better and desired results.
*Focusing
*The Shutter Button
Focusing
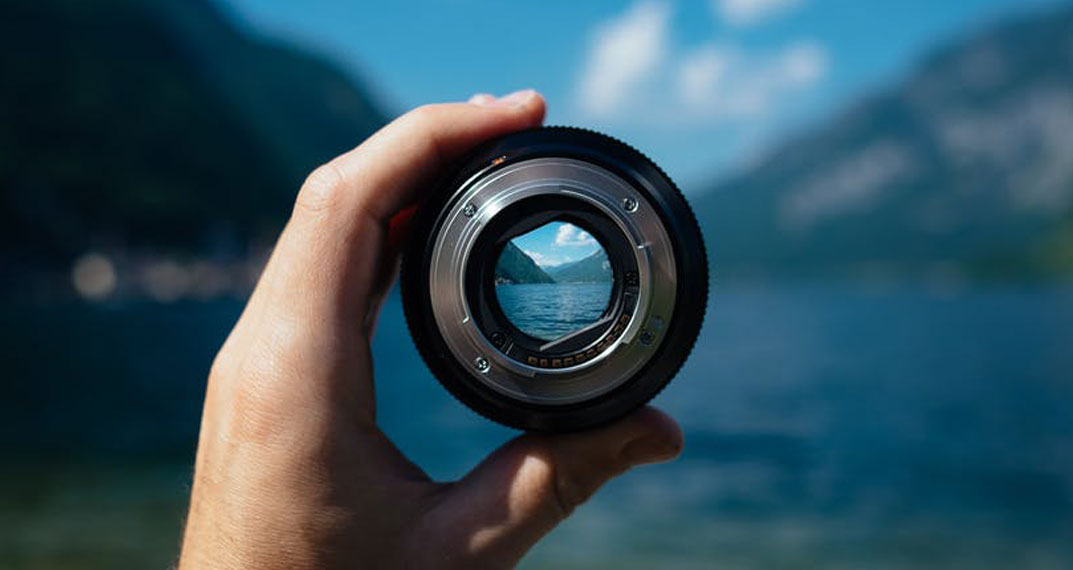
Whenever you capture a photo, You will want your target to be in focus. This means the focus of your subject is sharp as well as not blurry. Same like exposure, the focus is also automatically handled by the camera.
However,
Your camera tries to focus on another object, Which means your subject is out of your focus.
Your LCD camera screen also has a focus indicator, In your camera screen has a box that shows you exactly what your camera is focusing on.
To avoid these focusing problems, You will need to keep an eye on the focus indicator, Whenever you take a photograph.
The shutter button
Now a days most of people using digital cameras, In that digital cameras most of the cameras have a Two stage shutter button,
Those 2 stage shutter button are:
*Halfway down
*All the way down.
Whenever you press the Halfway down your camera will Lock in the exposure and focus settings. After a fraction of seconds your camera will beep to indicate you camera is ready, And you can press the shutter button the rest of down to take the photograph.
If you press the shutter button all the way down at once, Your camera won’t have a time to make adjustments. The results of your photo may be blurry, Dark ..etc. You should maintain pressing the shutter button as a habit for every photograph.
Understanding Your Camera Settings
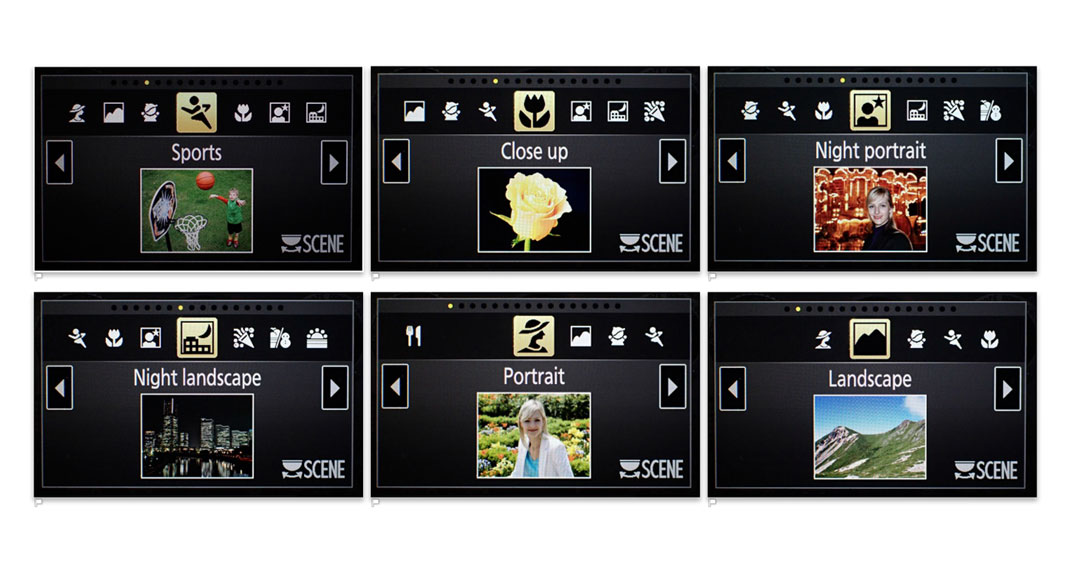
We all know every camera has automatic settings to capture photos, In that few settings you may want to change based on the situation. There’ll usually be an icon next to each button, and such icons are identical no matter what brand of camera you will have.
*Flash: Every camera has built in flash, helps you to take photographs in low light situations. You set the auto flash mode, Then your camera will work only when it needs to.
*Timer: If you are prepared for a group photo, you may not always need an extra person to take the photo. By setting the Timer and placing your camera on the table or tripod, You will have time to join with your group.
* Macro Mode: Macro mode setting you can use to take closeup shots. It allows the camera to focus on subjects that are only a few inches far away.
*Exposure Compensation: You can use these settings when your photographs are coming out too light and too dark. Choose these settings to adjust the exposure.
*Zoom: If your camera has a zooming lens, then you can control the optical zoom using a dial or a button (depending on the camera). On so many cameras, you can zoom in even additionally by using the digital zoom. the digital zoom will lower the quality of your photos, so it is best to avoid it.
Three Fundamental Camera Settings You Should Know
Earlier, We discussed the importance of getting the right exposure.the exposure is controlled by these three settings:
*shutter speed
*aperture
*ISO
These 3 settings work together to allow you to take photographs in different lighting situations, from dimly lit room to bright sunlight.
Generally, your camera has automatic settings for this, whenever you take a photo. However, as you will see later on you can actually manage these settings by adjusting the light or may be selecting a specific mode on your camera.
Shutter speed
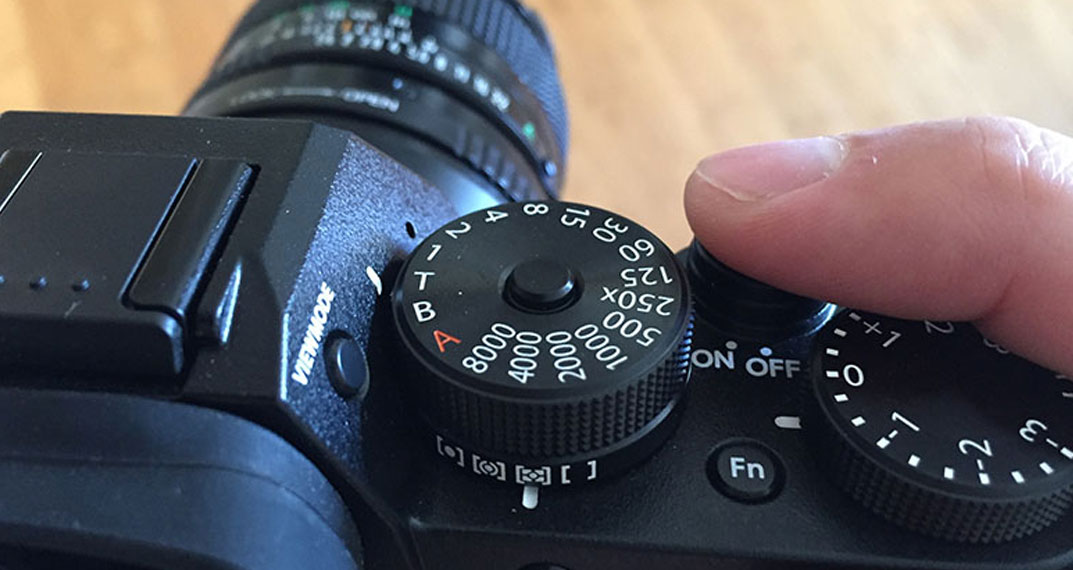
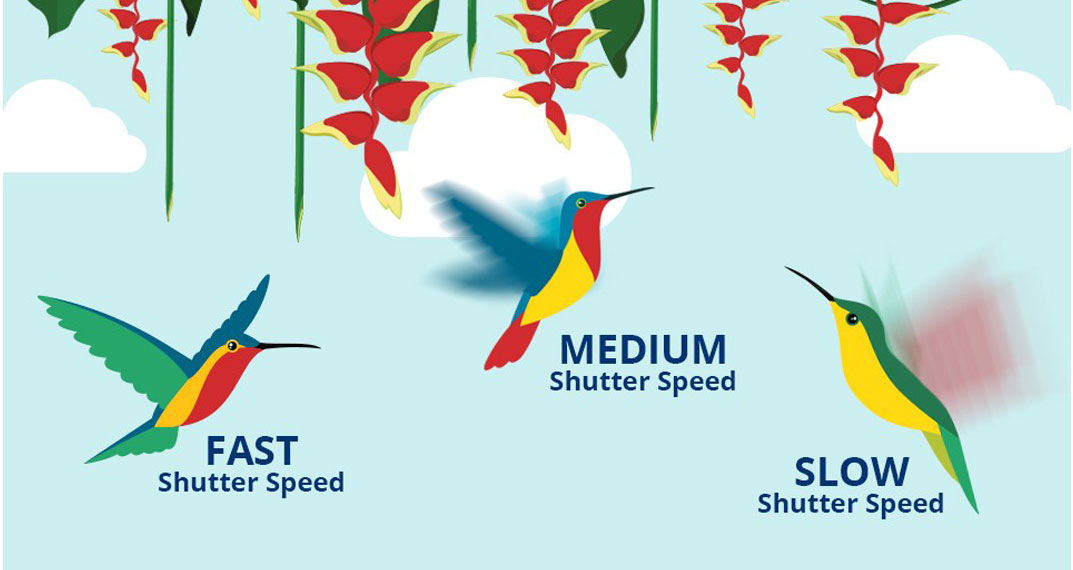
The shutter speed is the period of time the shutter stays open. A slower shutter speed (an example would be 1/4 sec) allows the camera to collect more light, while a faster shutter speed (such as 1/2000 sec) enables you to freeze the action and stay away from blurry photos.
If you are using a tripod, you may use much slower shutter speeds but still take sharp photos as long as your object isn’t moving.
Aperture
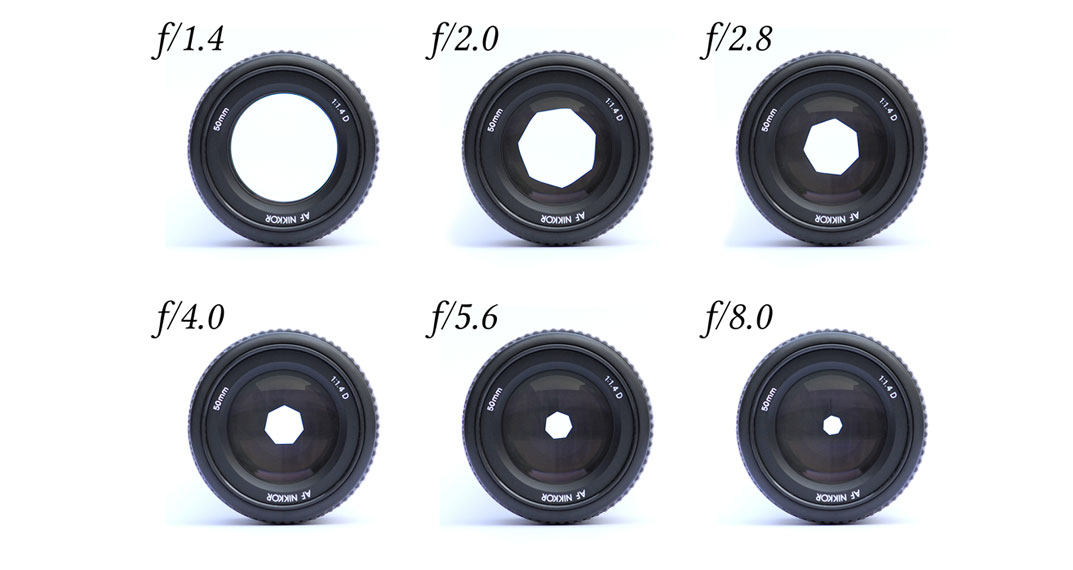
Aperture might be defined as the opening within a lens by which light passes to enter the camera. In fact, It’s an easy concept to know, You simply think of how your eye works.
While you move between bright as well as dark places, The iris within your eyes either expands or shrinks, Controlling the dimensions of your pupil.
In photography terms, The “pupil” of your lens is called Aperture.
For example, by using a wide aperture(such as f/1.4), Your camera will use a quicker shutter speed, While by using a narrow aperture (f/16) Your camera can use a slower shutter speed. The aperture has also an interesting effect on the way in which light is focused.
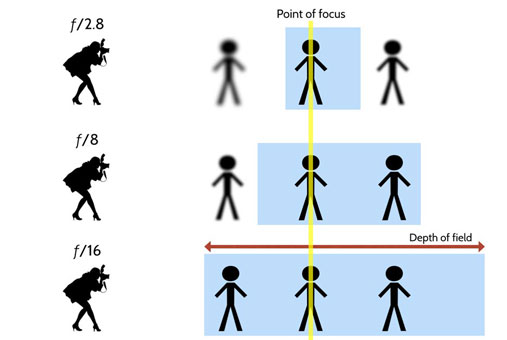
By using a larger aperture, the background will blur, As the subject stays in focus. This is generally known as shallow Depth of field.
ISO
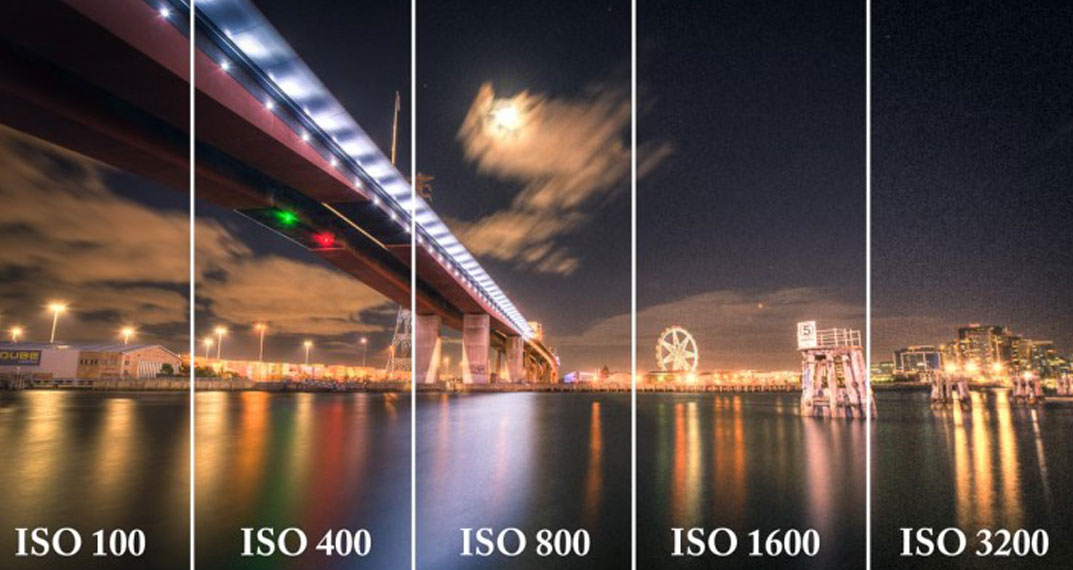
Digital cameras can set the sensitivity considering the sensor, and this is termed as the ISO number. Just, for example, ISO 100 is a lower sensitivity, which means that it requires additional light to create a good exposure.
This generally means your camera will use a slower shutter speed and/or maybe a wider aperture to gather more light. ISO 3200 is a higher sensitivity, so it can create a very good exposure with less light.
However, higher ISO numbers also include more image noise, which may make your photo too grainy.
Know What is Depth of field
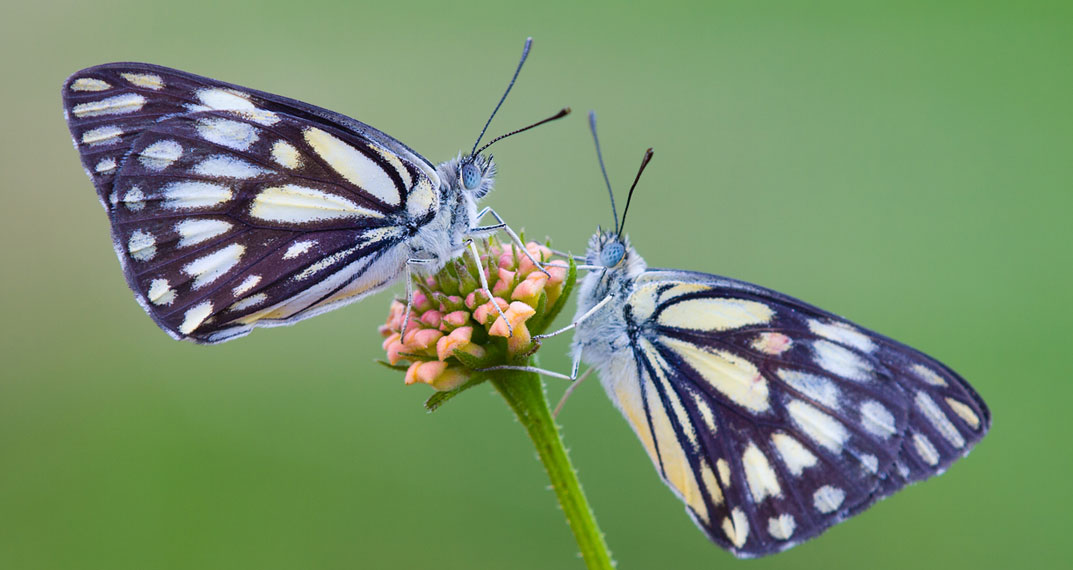
No matter what photo you take, you’ll want your subject to be in focus. However, sometimes you may want the background to get out of focus to give you a soft, artistic appearance in the photo. This is generally known as shallow depth of field.
By using a shallow depth of field, it’s possible to still focus on your subject, but objects that might be closer or deeper away will be away from focus. If you are using a bridge camera or DSLR, you can get such an effect by choosing a wide aperture (such as f/1.4).
Smaller apertures (such as f/16) will deliver a deeper depth of field, which means more of the photo will surely be in focus. For example, in case you are taking a landscape photo, you’ll usually need a deeper depth of field so distant objects and foreground objects will all definitely be in focus.
With a point-and-shoot camera, you can not have as much control over the aperture, so it may be hard to get a shallow depth of field. If you would like to get a shallower depth of field, it’s possible to zoom in or move closer towards your subject.
However, if you wish to experiment with different depths of field and also have more creative control over your photos, you are sure to usually use a DSLR or bridge camera.
Chapter 2
Tips to Understand the Lighting for Photography
In my opinion, Every photography situation like weddings and events and Birthday celebrations LIGHTING is most important.
Specifically,
I’m going to hand you Lighting tips like:
*Indoor Lighting Setup
*Outdoor Lighting Setup
So if you want to know more about Lighting tips, you’ll really enjoy this chapter.
Tips to understand the Lighting for Outdoor Photo shoot
You have the best camera with the best of your skills.
But if your understanding Camera lighting skills are messed up?
Then only you are not going to capture the best Photographs.
At the most basic level you need to know what are the settings to understand before the photography. Those basic Indoor photoshoot lighting skills for you….
*High-contrast Light situations
*The golden hour
*Mid day Lighting situations
*Lighting situations at Cloudy weather and twilight
High-contrast Light situations
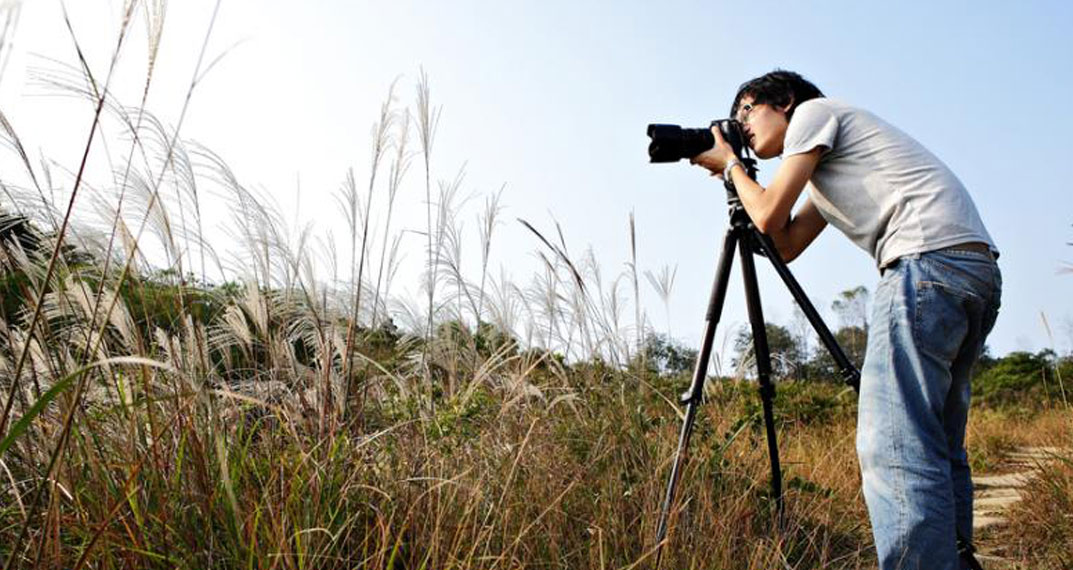
On bright, sunny days, having the sun under your subject may cause the subject to appear too dark. The reason is that the contrast is too high for your camera to capture accurately, so that adjusts the exposure to darken the complete photo. If this happens, try to find an angle exactly where the background isn’t as bright.
Too many photographers actually use their flash on sunny days to avoid unwanted shadows. This is generally known as fill flash since it “fills in” the shadows with additional light. You should be sure to use fill flash whenever you notice problematic shadows; in other situations, the flash could make the photo look worse.
The Golden hour
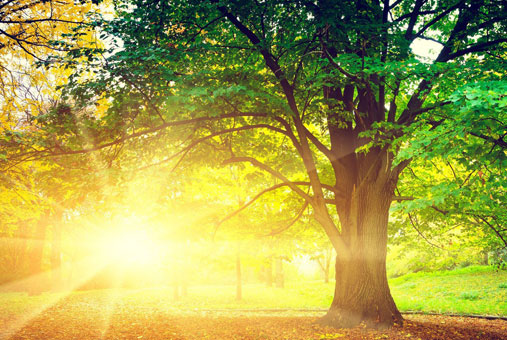
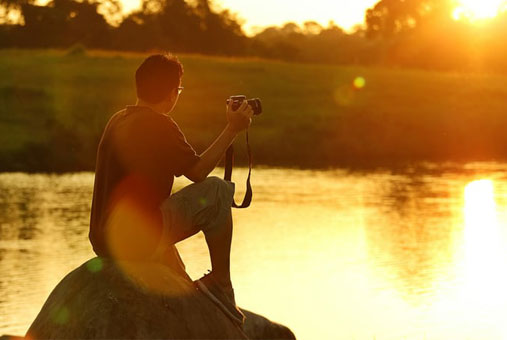
Many best photographers discover their photos look best when taken just before the sun sets, or just simply after it rises. This is a more common name as the “golden hour”.
Because the sun is lower in the sky, it creates longer, softer shadows. These shadows can also add contrast to your photos and still give them a soft, pleasant appearance. Additionally, the sunlight consists of a more golden color, which adds kindness to your photos.
Mid day Lighting situations
Middle of the day, sunlight is higher in the sky, So it will shine on your subject.
This may create dark shadows as well as bright highlights, which can give your photos a stronger appearance. If you’re taking photos of individuals, their eyes can be completely in shadow.
Sometimes, you might be able to reduce these shadows by turning on your camera’s flash, even though this won’t work if your subject is too far away. You can also ask your subject to face an alternate way to try to reduce the shadows.
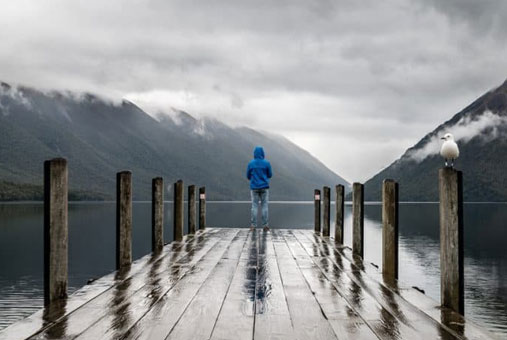
Lighting situations at Cloudy weather and twilight
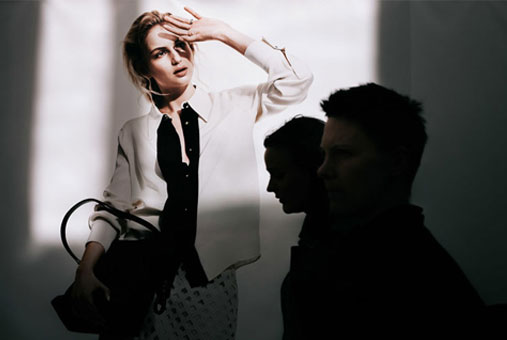
The softest light occurs when sunlight is covered by clouds, or when it’s slightly below the horizon.
Due to the reason that the light is soft, your camera should be able to pick up details that may have alternatively been covered by shadows. This can also be a very good time to photograph flowers as well as other colorful objects.
Tips to Understand Lighting in Indoor Photo Shoot
For indoor photography, your lighting situations can include sunlight through a window, lamps, ceiling lights, and your camera’s flash.
This gives you more flexibility, as you can turn on or off your lights to control the direction as well as brightness of the lighting.
*Understand Your camera’s flash
*Avoid having a sunny window behind your subject
*How to take photograph Using 2 Lights.
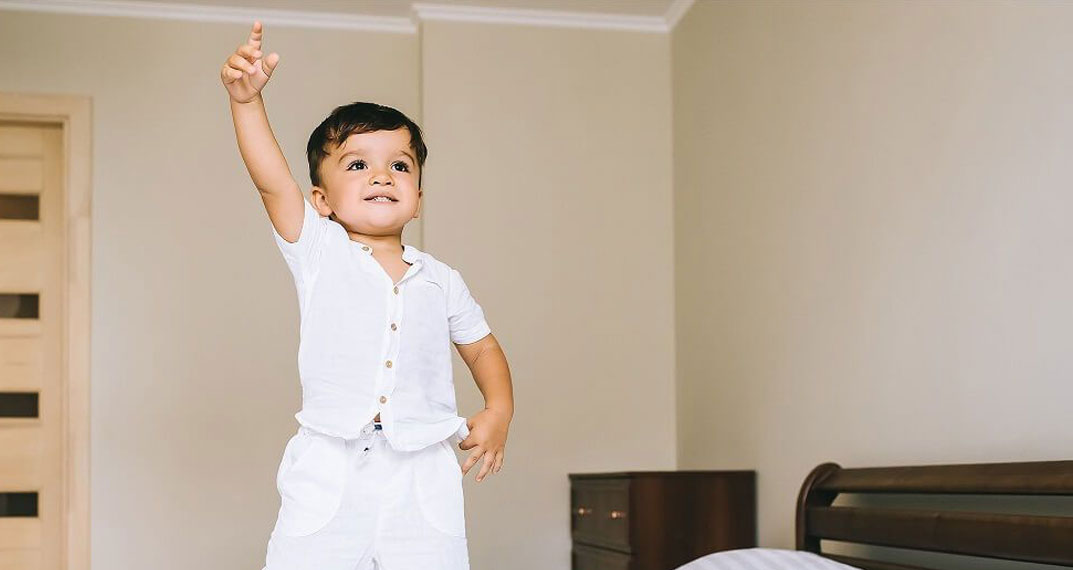
Understand Your camera’s flash
You may be tempted to make use of the flash of your indoor photography, but pictures taken with flash almost always have dark shadows and bright highlights that may be harsh and unflattering.
You may want to try turning off the flash and managing with the other lights you will have. You can turn the flashback on if you happen to find that your pictures aren’t coming out.
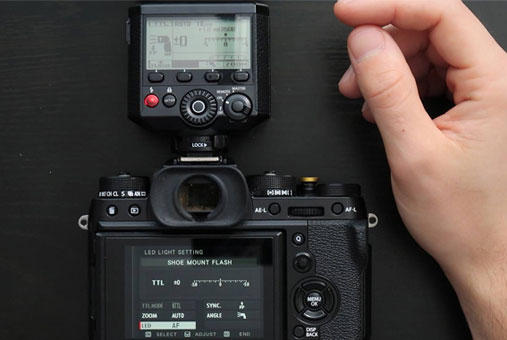
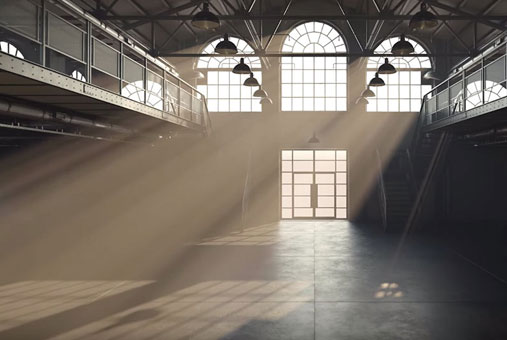
Avoid having a sunny window behind your subject
This can make your background too bright, which will make your subject look too dark. Try moving the subject or even the camera which means that sunlight hits your subject from the side or at a 45-degree angle.
How to take photograph Using 2 Lights
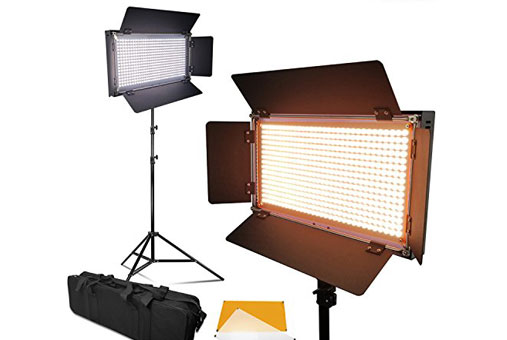
If you have two Lights, put one on each side considering the subject to work as the key light as well as a fill light. Remember, your digital camera can adjust the shutter speed and aperture to let in additional light, which means that picture won’t necessarily be too dark.
Pro Tips:
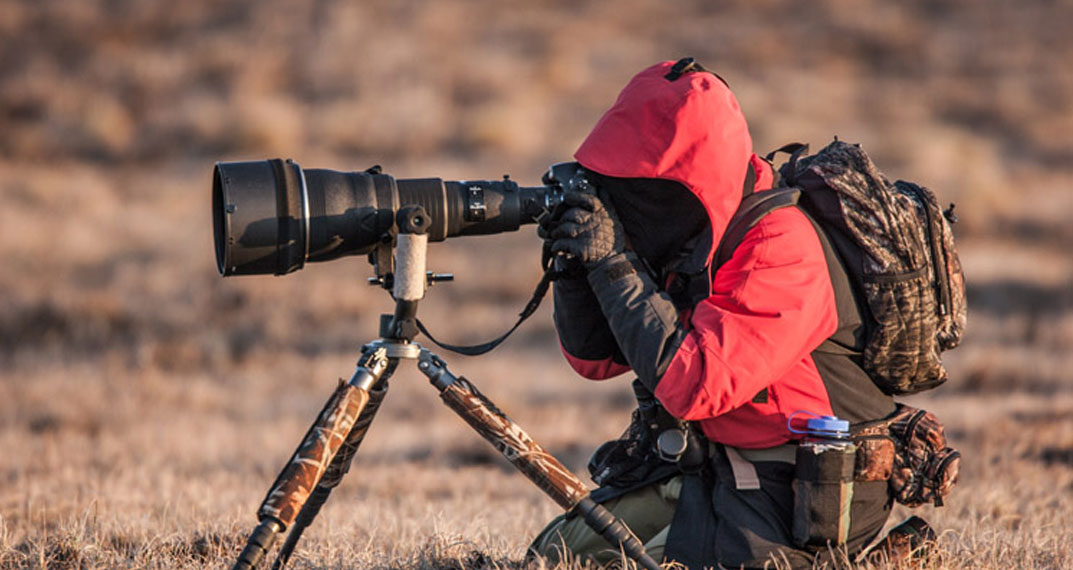
Use a tripod: If the lighting is not ideal, a tripod will help you to prevent blurry photos.
must use the flash: move your subject away from the object like a wall. This will help you to reduce dark shadows behind your focused subject.
Try indoor scene mode: This mode is designed only for low-light situations.
Chapter 3
6 Basic Photography Composition Techniques
This chapter is all about Composition of Photography shots.
Can you compose a beautiful photograph without knowing the composition technique?
Obviously No,
With that, In this section I recommended 6 basic photography composition techniques for you….
Decide How Much of the Background You Want
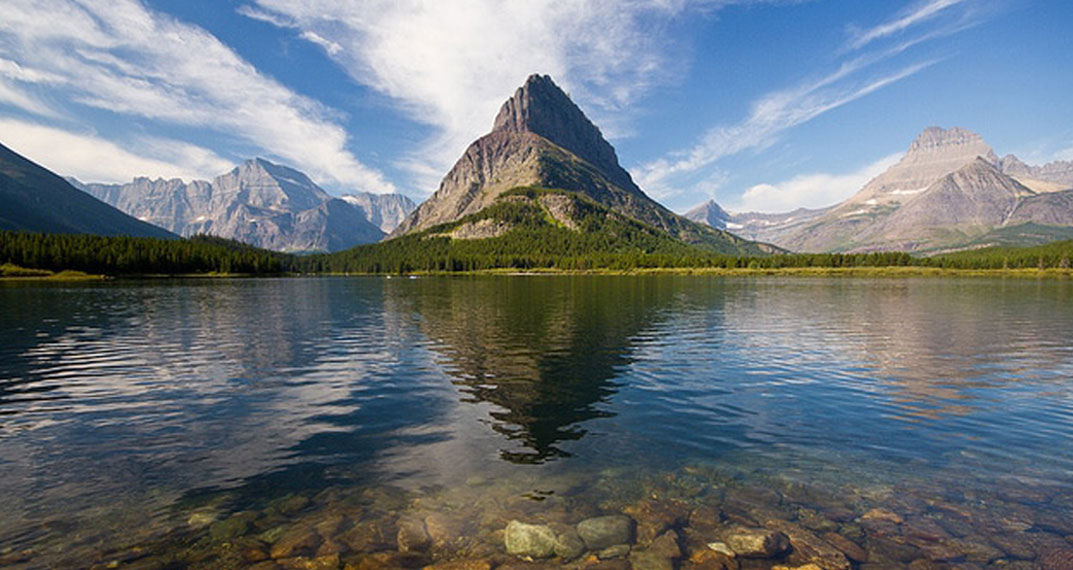
Most of the time you need to avoid including too much unnecessary background when you take photographs.
The result of focusing too much on the background of your focusing subject looks too small and insignificant.
You can zoom in or move towards the subject, You can reduce your target background as shown. On the other hand, if the background is beautiful and interesting you can zoom out to show more of it.
What Are The Shots You Want?
You need to have an idea about how exactly your wedding album should be. Every photo would describe your pair in a perfect manner. So it could be great to you when you give the list of your wedding ceremony shots. He can follow that list and click as many as possible photographs as you desire in the way you are visioning them.
If you desire some family photos or any group photos let your photographer know, decide the important photos you need and must there is sufficient time to have these taken.
Avoid Mergers
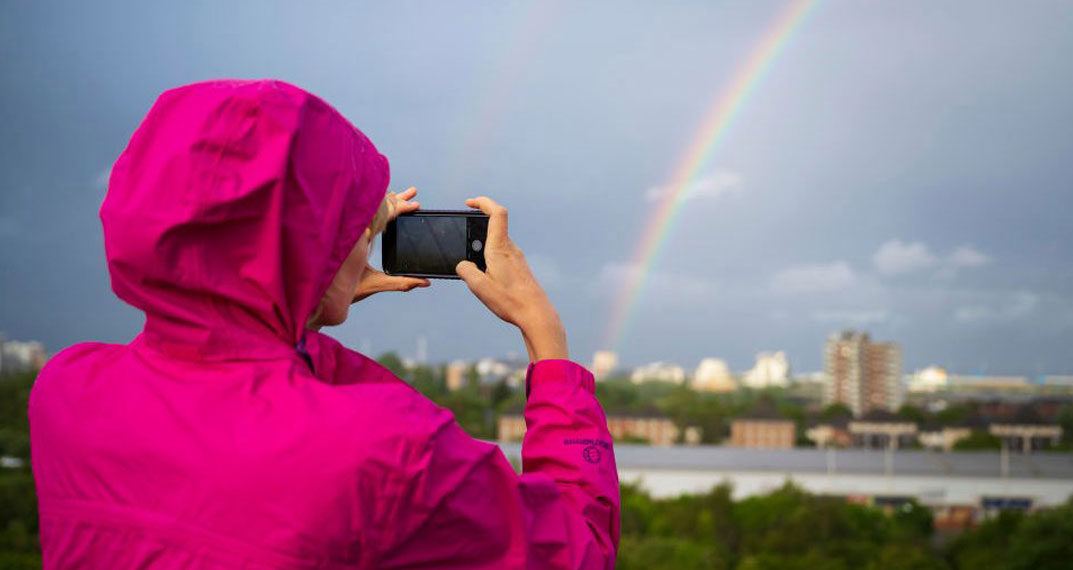
When a background object (for example a tree or streetlamp) is directly behind your subject, it may look like it can be growing out of the subject’s head. This is called a merger, and it also can damage great photos. Try to find an angle where the background is not distracting.
Be Careful Not to Crop Out Body Parts
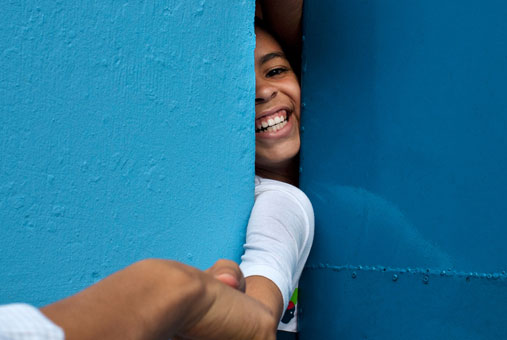
A normal mistake is to crop out the tops of people’s heads or their feet. To avoid this, include some extra space at the top as well as bottom of the photo. You can move for more distance away from the subject to give yourself extra space to work with. Of course, if you’re doing a closeup it’s fine to have some cropping.

Try Changing the Distance From the Subject
Sometimes a closeup shot performs best, but other times you may wish for a wider-angle shot. You have the option to experiment by moving closer and for more distance away from your subject, or by using the camera’s zoom.
Try to Fit Different Angles
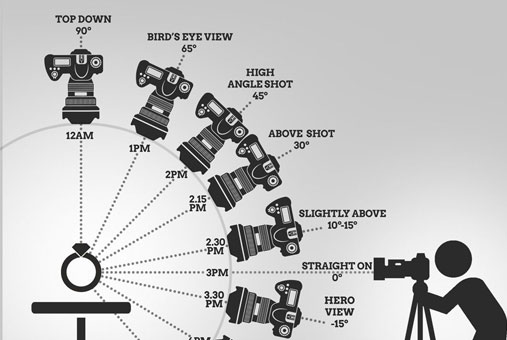
You could try moving to the side or moving the digital camera higher or lower to get a different angle. This also gives you the ability to control which background objects are seen in the photo.
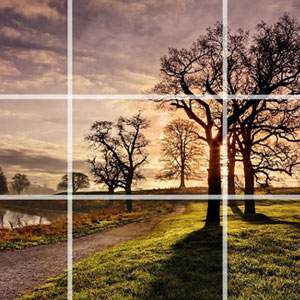
Know The Rule of Thirds
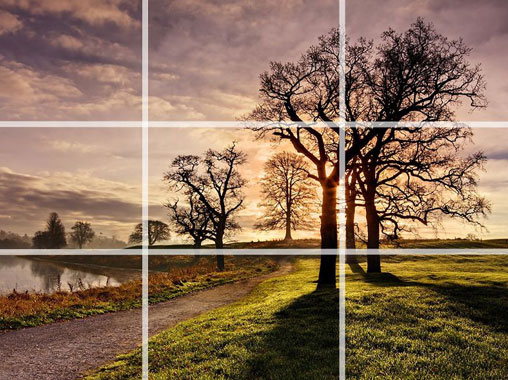
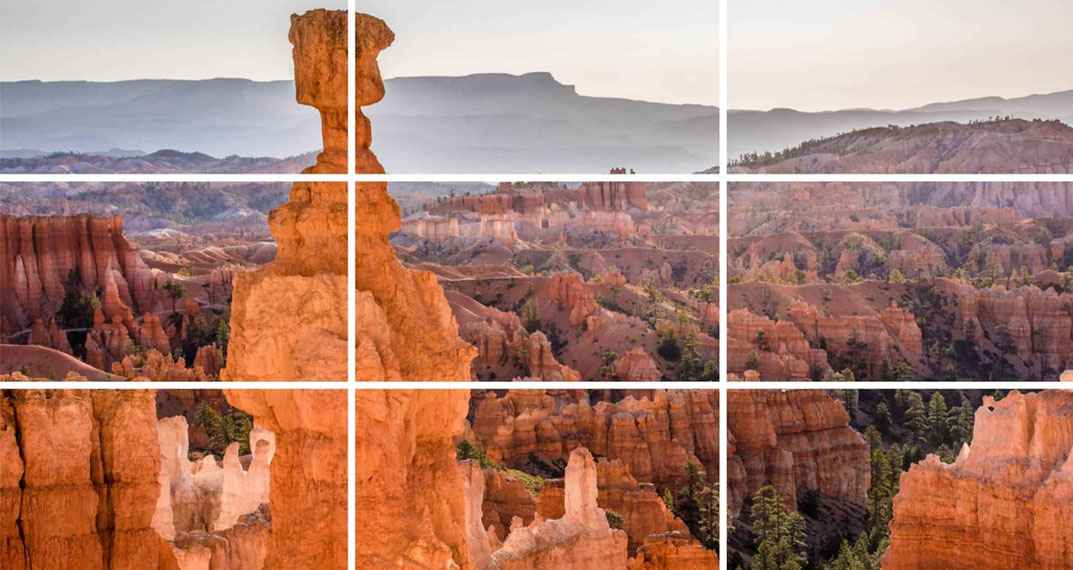
When you’re taking a photo, it is not necessary to place your subject exactly in the middle of it. In fact, you can often make a picture look more natural by placing your subject off-center. You can do this by applying a technique photographers call the rule of thirds.
To use the rule of thirds, you must believe that the photograph is separated into thirds horizontally and vertically lines. The places in which the lines intersect are called power points, and these are usually good places to fit your subject.
Even if you can place your subject from any of the four power points, there will many times that will work better than the others.
Chapter 4
5 Pro Tips for Getting Proper Exposure for Night Photography
How do you photograph at night?
It’s a good question to ask.
With that, In this chapter I’m going to give you 5 Pro tips HOW to photograph at night like:
*Use your camera’s Night Portrait scene mode
*Hold the camera as still as possible, or use a tripod
*Use the flash if necessary
And more….
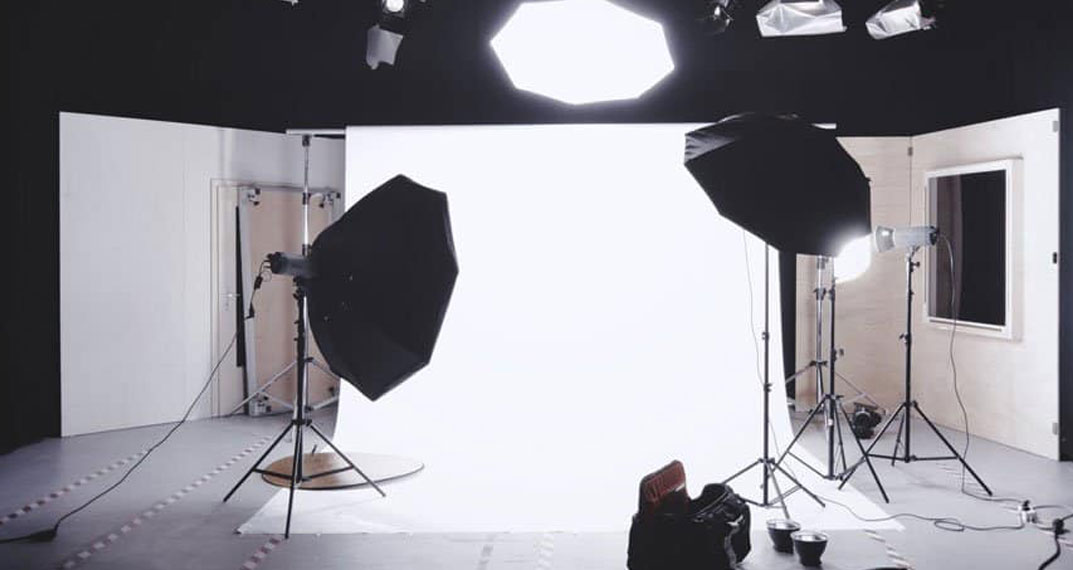
Use Your Camera’s Night Portrait Scene Mode
Although it sounds similar to Night Portrait mode and Night Scene mode is a different subject altogether. It’s designed for photographing evenly exposed shots of a subject in front of a nighttime background. Executed well, Using this scene mode may help you to your camera deal with low light.
Hold the Camera as Still as Possible, or Use a Tripod
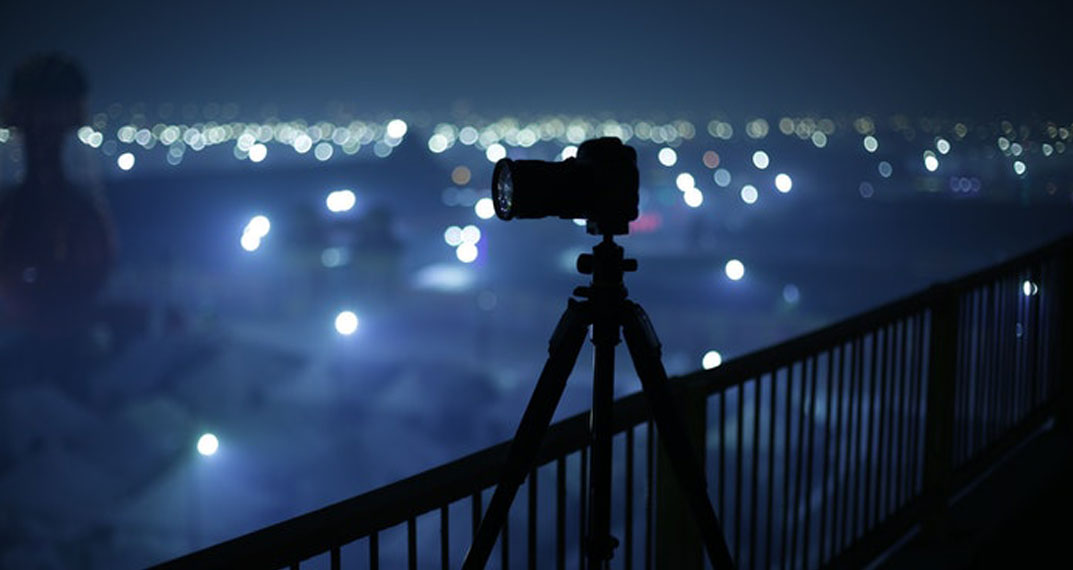
In low light, you can use slower shutter speed in your camera settings, which means your photos may come out blurry. Holding the camera as still as possible will help you to keep your photos sharp.
If you have an issue holding a camera in hand must use a tripod for better results.
Use the Flash if Necessary
Your camera’s flash will not be the most flattering light, but it is often better than other lights. Many cameras have a flash that is built to reduce red-eye, so make sure if this is an option on your camera. Also, remember that the flash usually won’t help if your subject is a bit more than 15 feet away.
Try Increasing the ISO Setting
If all else fails, In your camera’s settings you can manually raise the ISO number. If you increase the ISO number the result may reduce the blurriness, but it will also make your photograph more grainy.
Adjust the Exposure Compensation
If your composed photos are still coming out too dark, you can adjust the exposure compensation to increase or decrease the brightness based on situations.
Although if you increase brightness, this will make the photos brighter, it won’t actually improve the quality, so it is not really a substitute for more lighting.
Chapter 5
Quick Tips for Awesome Closeup Photography
Improving your close-up photography skill is one of the few technical photography skill strategies that can directly impact your Photography style.
That’s not to say that a close-up photography skill will rocket you to the top of the photographer’s list.
(You need Knowledge on that)
But improving your close-up photography skills can make a significant dent in your photography life.
In this chapter I’ll show you 5 Quick Tips for Awesome Closeup Photography….
Use the Closeup Scene Mode or Macro Mode
In your camera closeup scene mode allows you to focus on the objects that are only a few inches distance away from you. Also, the Closeup scene mode will help you to always focus on the middle of the image, which makes focusing easier to you.
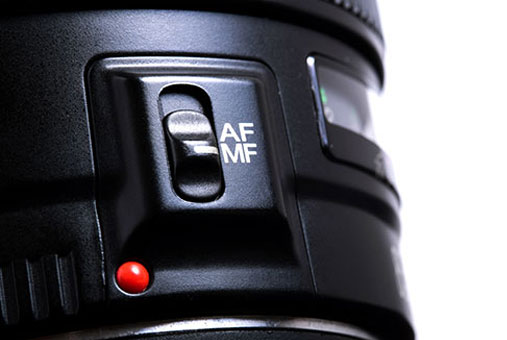
Know the Auto-Focus in Closeup Shots
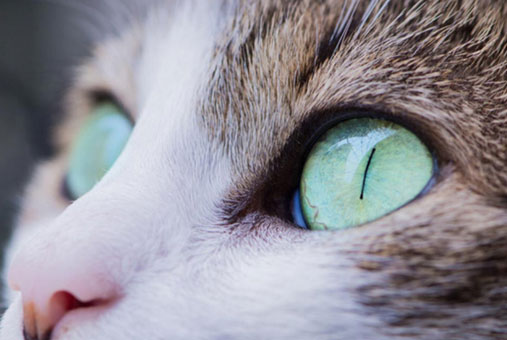
Closeup shots also have a shallower depth of field, so it is important to make sure your camera is focusing on the subject and not the background. If you are using the Closeup scene mode, you can do this by holding the object in the center of the frame by using the autofocus.
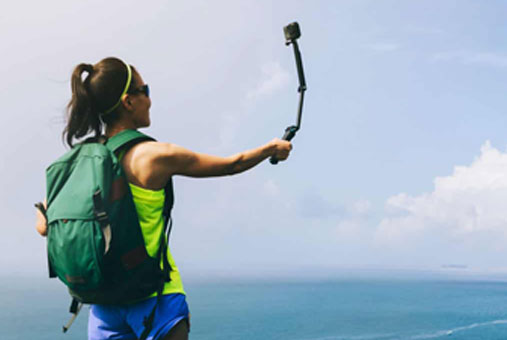
Don’t Move it Just Stick on it
if you move your camera when it focuses an object, the result of your photo may come out blurry. If you want to move the camera, stick it in your hand, you’ll have to refocus it and when you get focus then only you take the photo.

Avoid Using Flash
You must avoid flash when taking photographs closer. Your camera’s flash won’t work on closeup objects, when you take a photograph using a flash at closer the object flash will reflect on your object. so it’s better to turn it off.
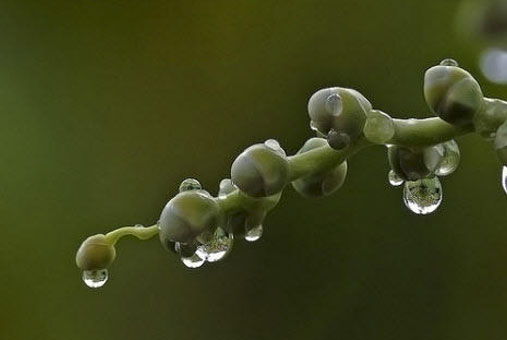
Try Shooting in Cloudy Weather
If you really want to get the best results in your outdoor closeup shots, you just have to try shooting in cloudy weather. Bright sunlight can result in dark shadows that block out most of the details, but the sunlight that is filtered by clouds is very soft.
Chapter 6
Basic Photography Equipment Checklist For Beginners
Let’s close out this guide,
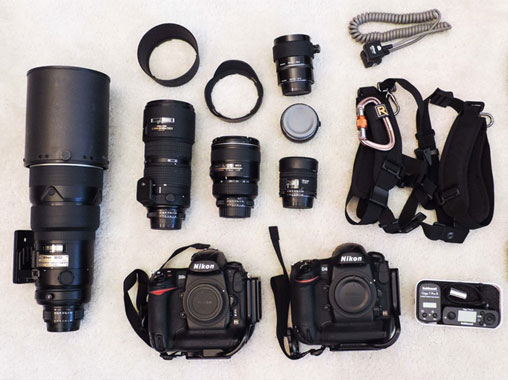
With a list of my favorite Basic Photography Equipment Checklist is here.
In this chapter you’ll learn:
*Remote Shutter Release
*Photography Lighting Equipment
*AA Batteries + Battery Charger
*SD Memory Cards
And more…….
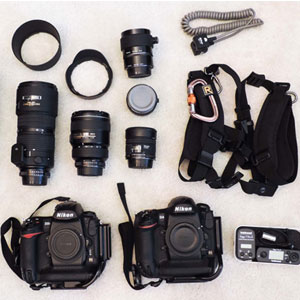
Camera Tripod
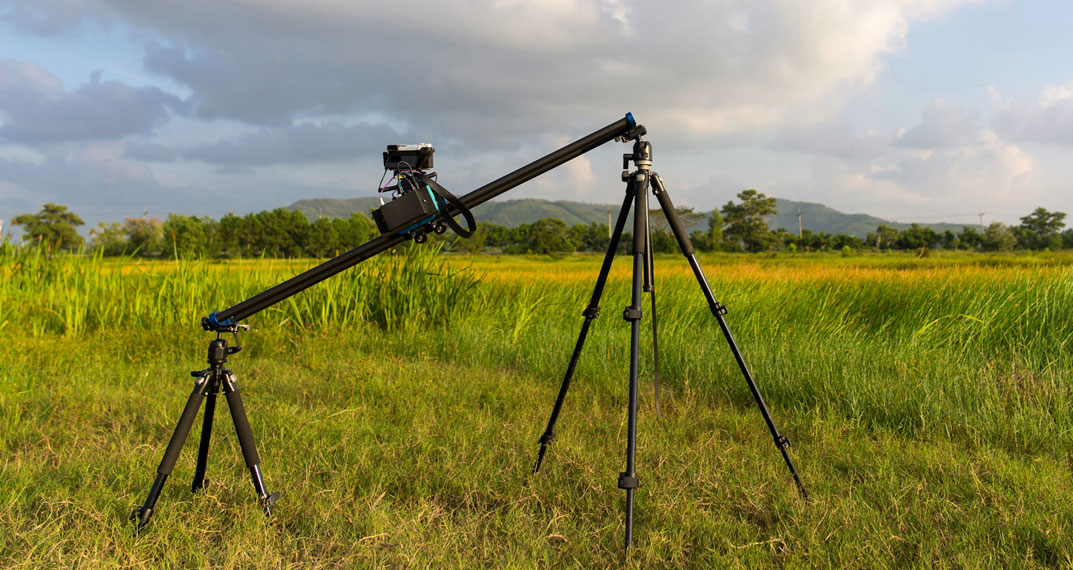
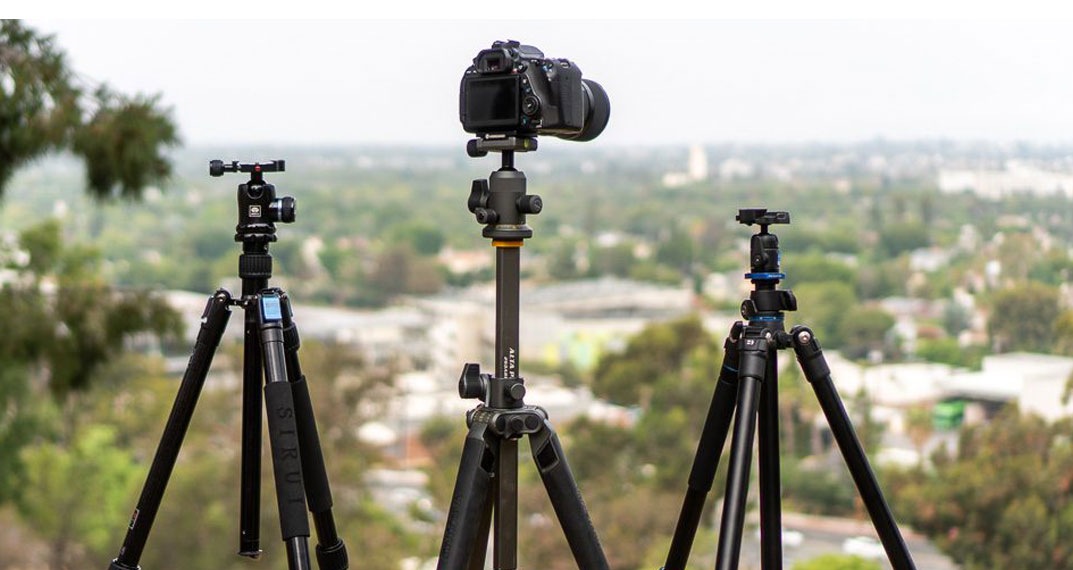
Few camera accessories are as dynamic and necessary as a tripod. Whether you’re shooting portraits, landscape, street, night, or even wedding photography, you’re going to need a tripod at some time or another time. Tripods are extremely useful in low light settings clearly as the stability of a tripod allows you to take longer-exposure shots with zero camera shake.
Prime Lens
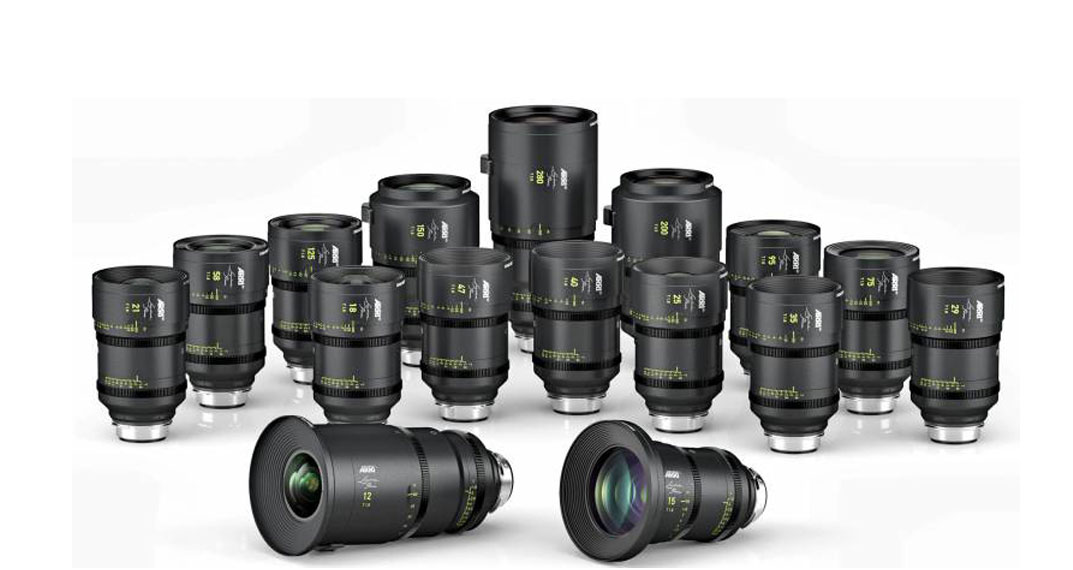
As you increase your progress in photography, you’ll end up collecting many different lens types that allow you to take all kinds of shots. But at the learning stage, you’ll be better off learning with a single prime lens. (A prime lens is a lens that does not zoom.)
Why a prime lens?
The inability to zoom can allow you to learn a lot about proper composition techniques. By using a fixed camera lens, you have to think in your shots more, which stretches your abilities and helps you improve faster.
For Canon and Nikon, the 50mm f/1.8 prime lens will be the cheapest of all lenses, making it perfect for learners. However, when your camera has a crop sensor (which most entry-level DSLRs and mirror less cameras do), and if you are able to spend more, you should use a 35mm prime lens because it’s generally more flexible.
Photography Lighting Equipment
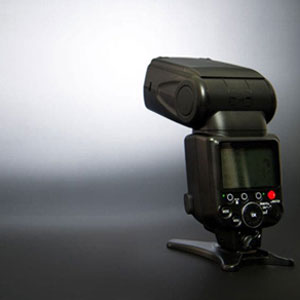
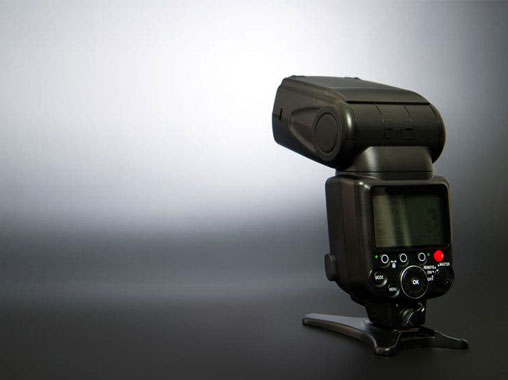
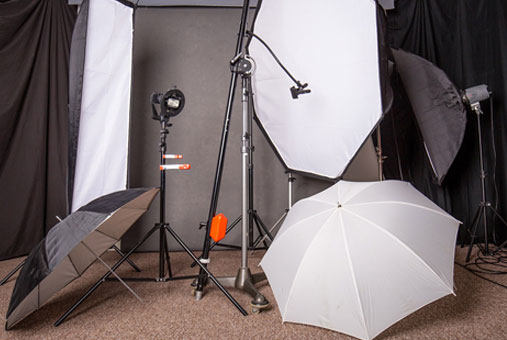
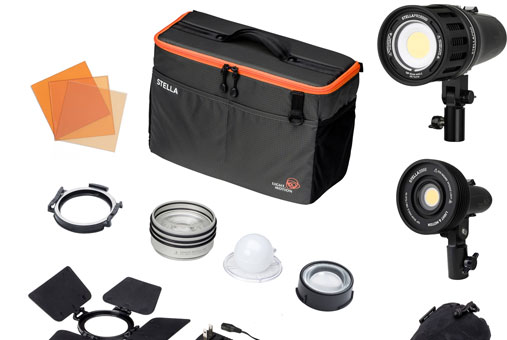
Every photographer needs flash at some moment, even if you don’t plan to shoot in the dark. But don’t use the built-in flash in the camera body. Instead, spend a bit on your photography lighting equipment and buy an external flash unit.
The Yongnuo YN-560 IV Wireless Flash can be an inexpensive off-brand flash unit that’s cheap enough to be affordable however powerful, feature-rich, as well as stay useful no matter how skilled you are.
SD Memory Cards
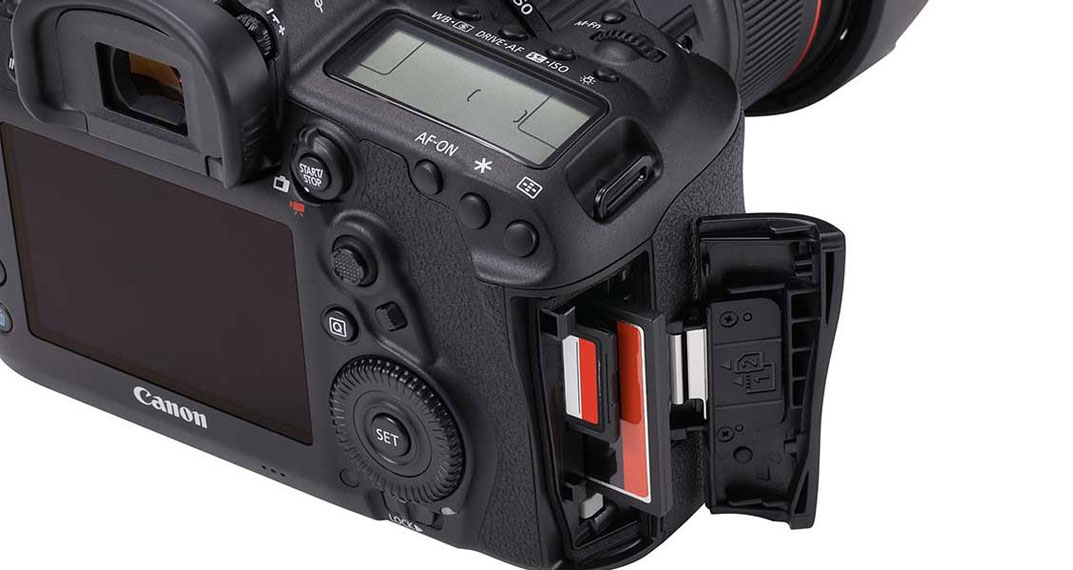
For photography, it’s much better to have a handful of smaller SD cards compared to one big SD card. That way, in case a card ever gets corrupted, you still have others you could use. There’s nothing worse than being incapable to shoot because your only card died.
Be sure you buy the right kind of SD card for your chosen type of photography!
Anyhow, you can’t fail with a handful of these Transcend 32 GB Class 10 Memory Cards that happen to be big, fast, and cheap. You should also think about getting a Water-Resistant SD Card Holder Case to maintain your memory cards safe, both for storage as well as travel.
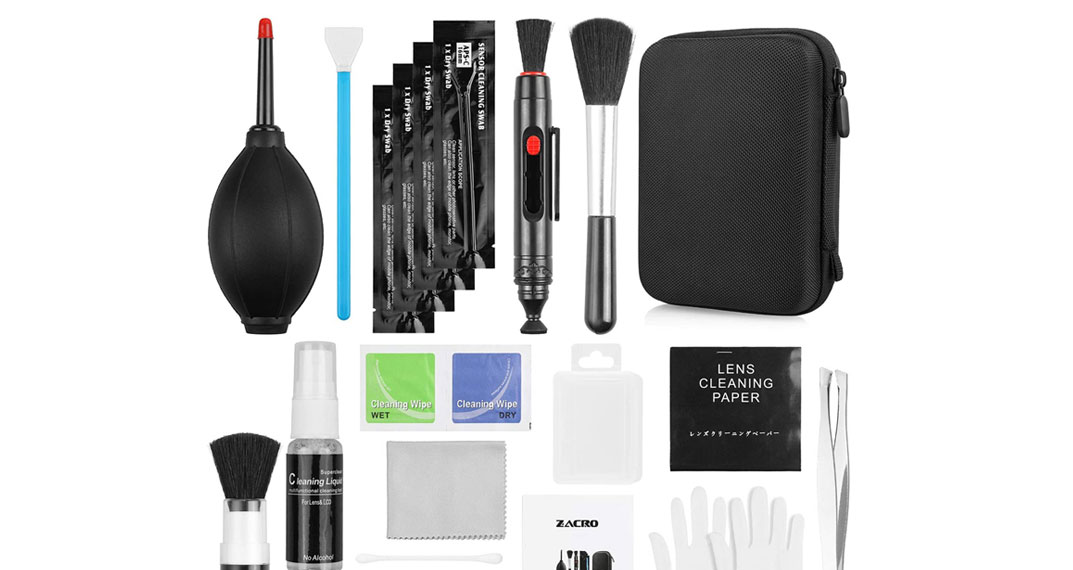
Camera Cleaning Kit
Dirt, dust, as well as moisture, may get into camera bodies, lenses, as well as accessories. In the worst-case scenario, your expensive lenses and camera may suffer permanent damage. Neglecting camera maintenance could be the most expensive mistake you could make.
Unluckily, professional camera cleaning may also be expensive. That’s why you should learn how to properly clean camera gear yourself by using a camera cleaning kit. Of course, when there’s a serious issue, it is best to take it to the professional.
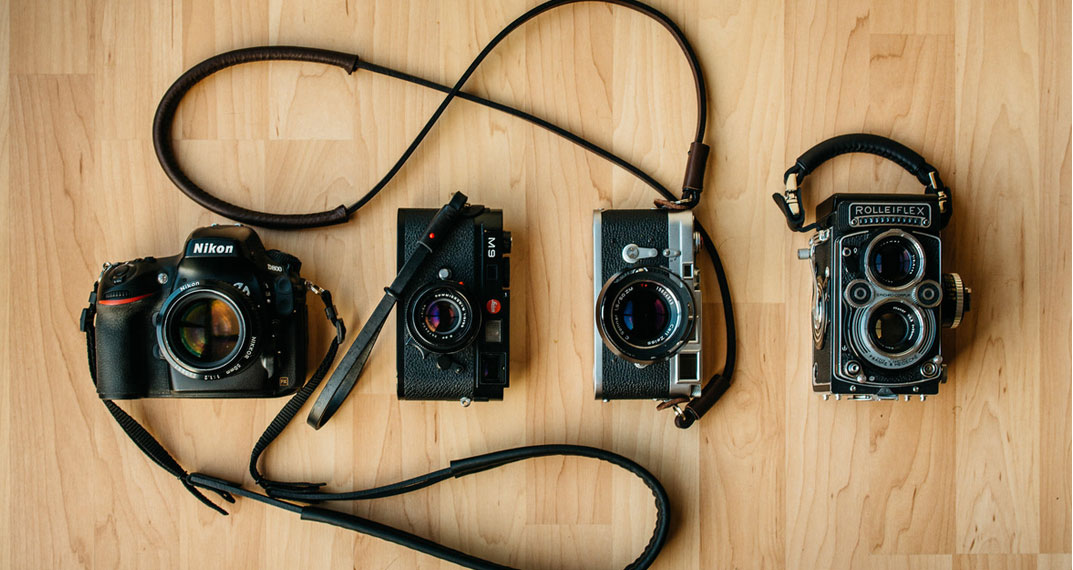
Camera Strap
Your digital camera probably came with its own branded strap. Unfortunately, the free straps that include cameras are sometimes small, weak, ugly, as well as uncomfortable.
The moment you have the other stuff in the list above, you should buy a quality camera strap. The difference between a good strap and a kit strap looks like night and day, and you won’t regret it.
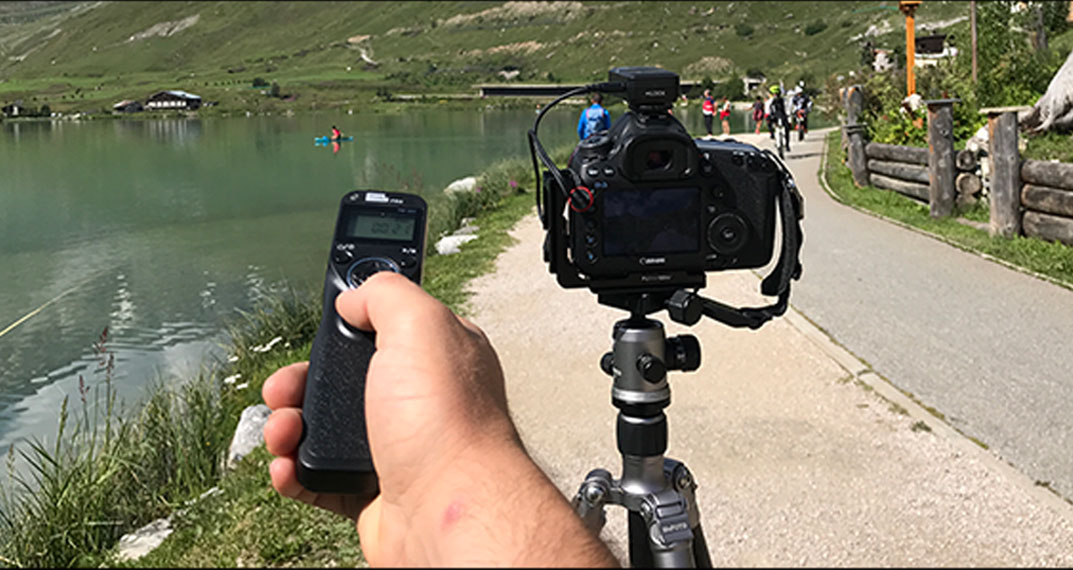
Remote Shutter Release
A remote shutter release is useful because it allows you “take a shot” without physically touching anywhere on the camera body, which avoids the potential for camera shake as well as accidental blurring. It’s commonly used in conjunction with a tripod
Chapter 7
Helpful checklist before photographing
Now it’s time for some Helpful checklist before photographing.
In this chapter we’ll cover,
*Helpful tips for before leaving Studio
*Helpful On the field Tips
*Get back to Studio and more.
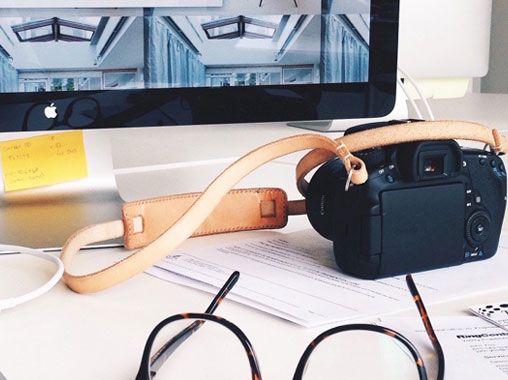
Checklist Before you leave studio
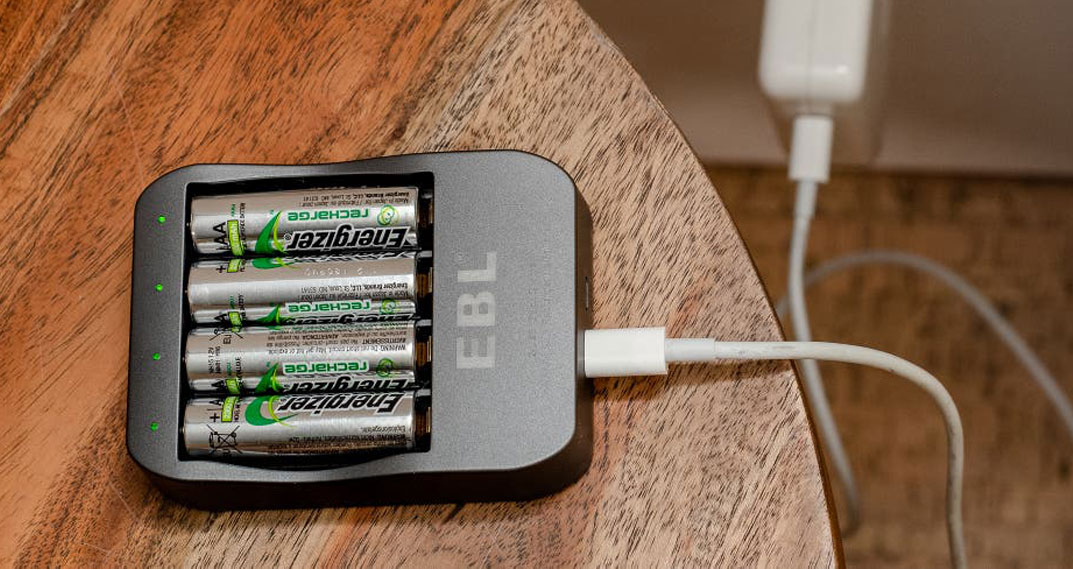
Are your batteries charged?
You may laugh as well as think, “Obviously I won’t head out with empty batteries”. Well, once when I drove seven hours towards Delhi in India. where I would spend Saturday and Sunday within a tent photographing fantastic landscapes. After one hour of shooting, the first battery died, and then I realized that all my spare batteries were empty too. Since I was camping I didn’t bring a charger.
In deep frustration, I ended up driving the seven hours back home, as I did not want to spend the weekend considering the greatest nature of India without my camera.
I seem to make a habit to always set my batteries to charge the moment I get home or studio from photographing, yet I also double-check that each one battery is charged when I leave on trips.
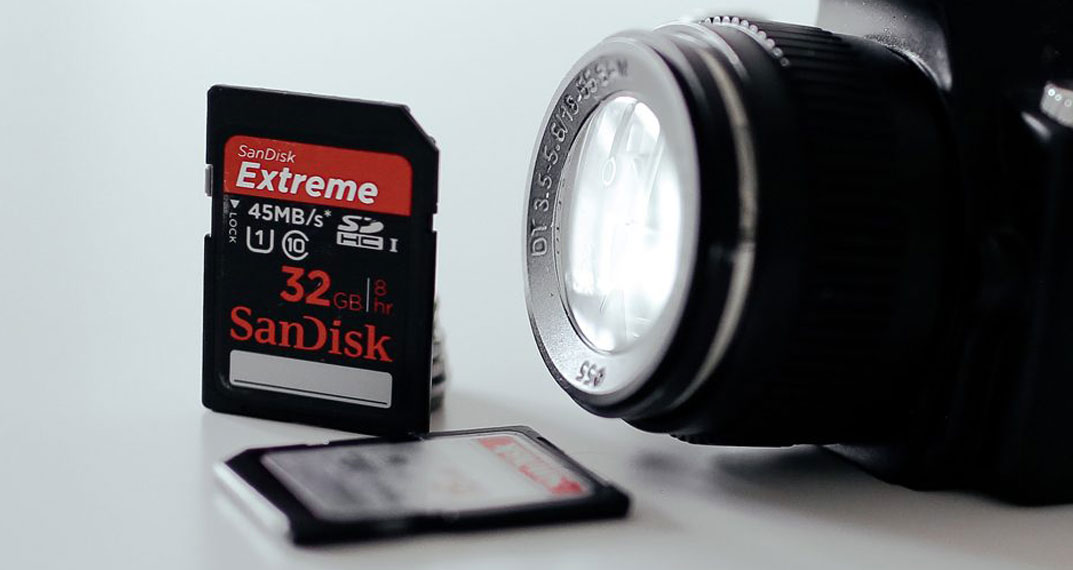
Is your memory card full?
Now, leaving the studio with a full memory card is not like critical as not having any battery time. However, it is rather annoying to have the message “Memory card full” after taking 10 or 20 pictures. Next, you have to waste time deleting images one-by-one. Make sure there’s enough free space on the card when you leave on your adventures!
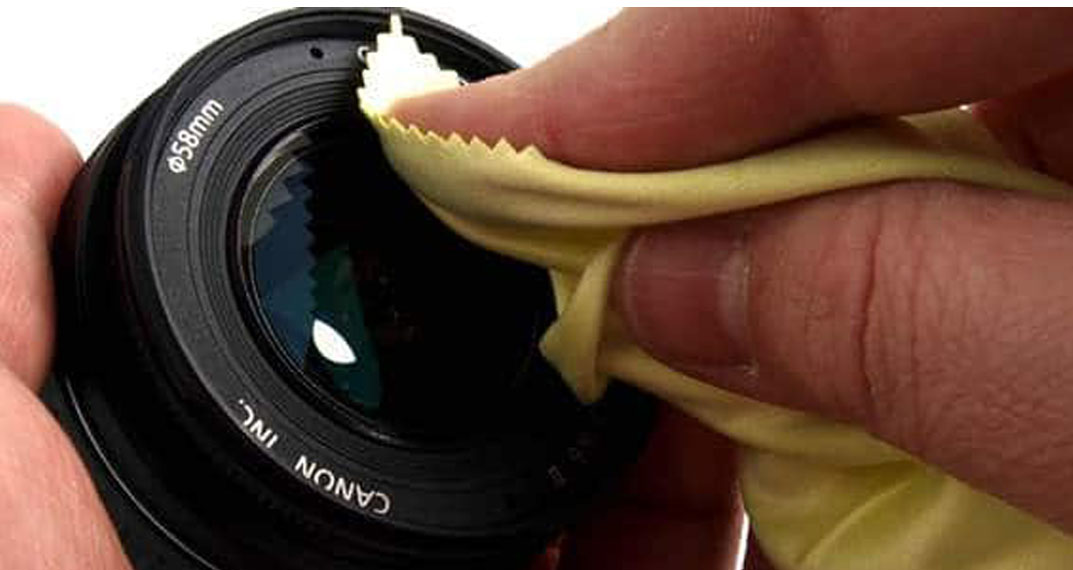
Did you clean your equipment?
We are responsible for not cleaning our equipment from time to time. It’s more exciting to process your images whenever you get back home instead of clean your gear, right?
No matter what is fun or not, cleaning your equipment should be done, especially after photographing in rough conditions. I like to recommend always bringing a microfiber cloth, air blower, and certain cleaning spray when you are out, but the more you clean at the studio, the more time you need to photograph when you’re out.
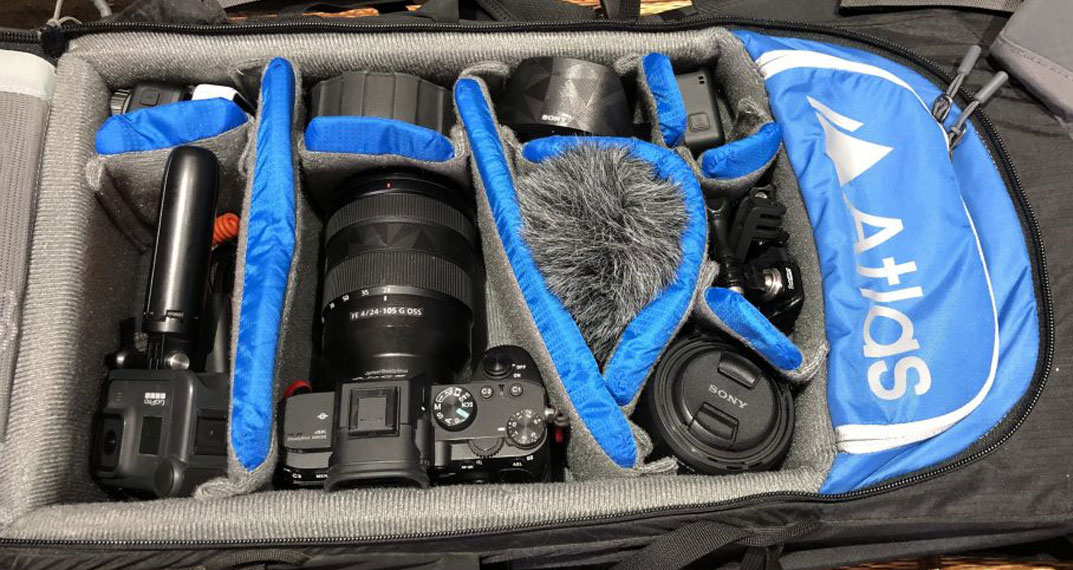
Is all your gear packed?
This is something I have not yet experienced myself, probably due to my personal tensions forgetting something. But it’s happened more often once that I have been out with a person who forgot their memory card, remote shutter, or even their camera. So make sure that each and every part of the equipment you need is in your backpack whenever you exit the door!
On the field Checklist
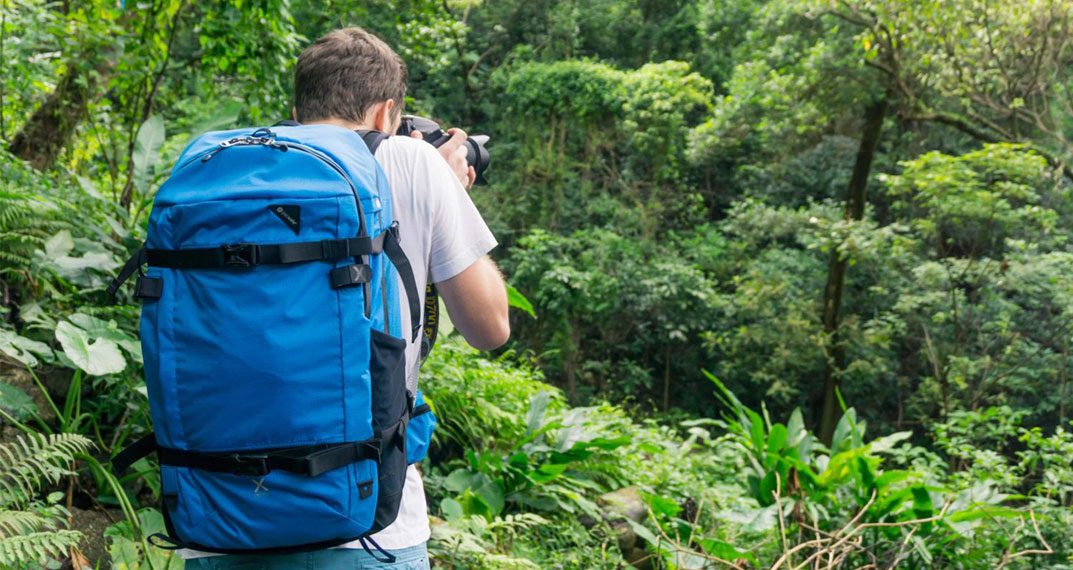
Make a proper list where to photograph
Before you decide to look at the settings as well, start by reflecting upon the subject you will photograph. Is it a landscape, animal, people, or maybe else? By spending a few seconds becoming mindful of what you are about to photograph, it is going to be much easier than you can remember to set your settings accordingly.
Check your camera ISO
If you are a landscape photographer, you desire the ISO to be as low as possible in many situations. However, you might be also outside photographing the sunrise, daytime, sunset, as well as nighttimes. These hours often require different settings.
It’s annoying to photograph a beautiful sunrise, just to return home and realize you forgot to make some changes to the ISO from 1600 after photographing the stars last night.
As a default, I usually check that my ISO is about 100 when turning my camera on, as this happens to be the setting I use for most of my shots. If you’re photographing wildlife you would possibly use 400 as a default to be sure you freeze the moment.
Check your camera white balancing
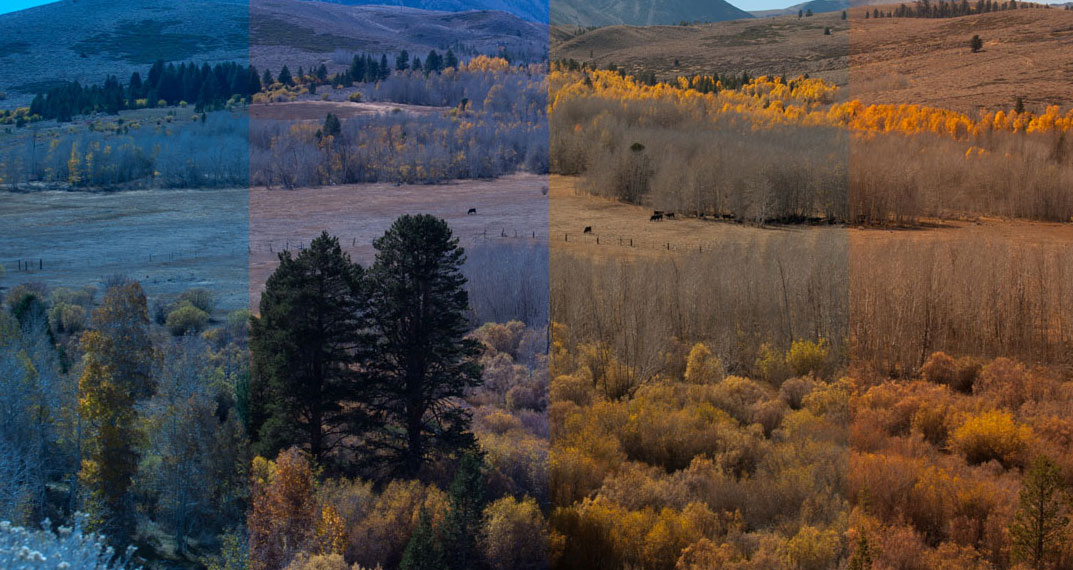
Most of us look at the image preview after clicking on a couple of shots so we quickly become mindful of any visible mistakes we’ve made, which include not setting the White Balance. Sure, the White Balance is simple to fix in post-processing, but I prefer to make your shot as complete as possible within the camera. Quickly check that the White Balance is set to what you generally use (even if it can be Auto, Cloudy, or another pre-made setting).
Don’t Forget Focus
Maybe you have quickly taken up your digital camera to photograph the bird that just passed you, and later observed the image is out of focus because you forgot to make some changes to Autofocus? It’s a simple mistake to make, so before you start photographing, concentrate on how you have set the focus.
Get Back to Studio
At this point, your memory card is hopefully packed with amazing images. This is the last step, and it loops right away to steps like Before you leave the studio and On the field and Get back to the studio. Now it’s time for them to set your batteries to charge, import your photos, and clean your equipment. If you make a routine of doing this after every session, you are sure to avoid making the mistake of heading out being not ready.
Now It’s Your Turn
That’s it for this Photography Guide for Beginners,
And I hope it helps you to learn the basics about photographing.
I think, these steps don’t take much time to follow,
You don’t need to spend hours learning how to photograph and behave before you leave the studio and On the field.
Do you have any “rituals?”
What do you do before going out to exit this photography Guide?
Please share and comment in the comments section below.
now.
